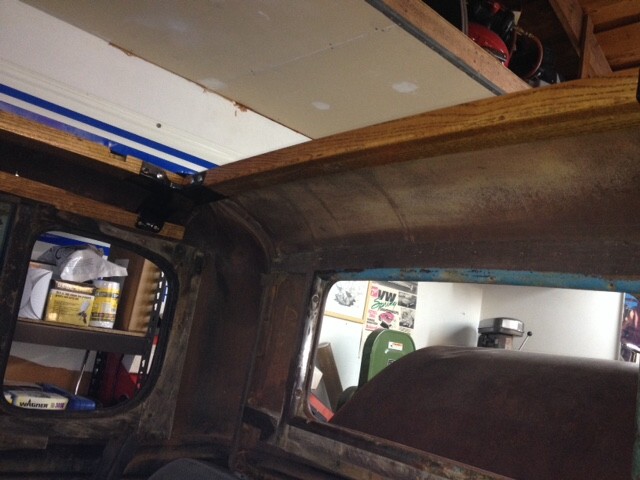
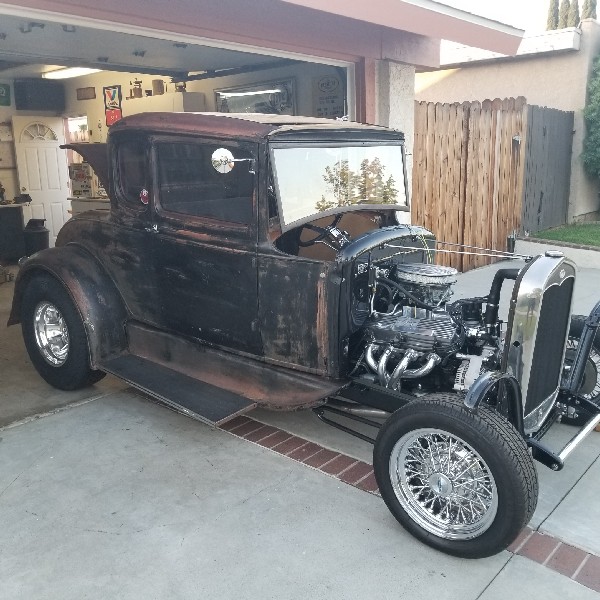
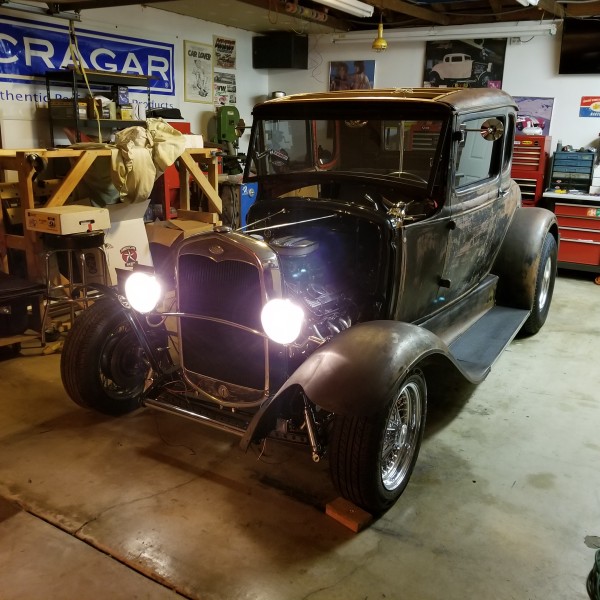
Top, pinched, definitely. No question.
I laid everything out in Photoshop and looked at it for months before deciding.
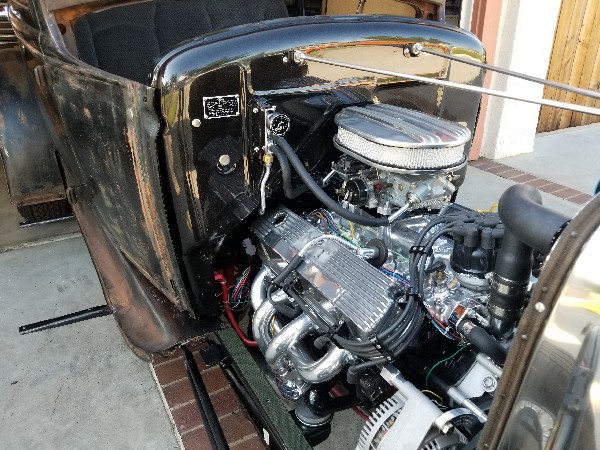
I've been just sitting in it holding gauges up to get an idea. I just can't decide what looks stranger..... the outermost gauges pinched and less visible or the angle. I guess there's a third option of having the outer gauges horizontal but below the center gauge centerline. I have 3 days to decide.....

")