Quicksilver
Well-Known Member
- Joined
- Oct 12, 2011
- Messages
- 354
- Reaction score
- 163
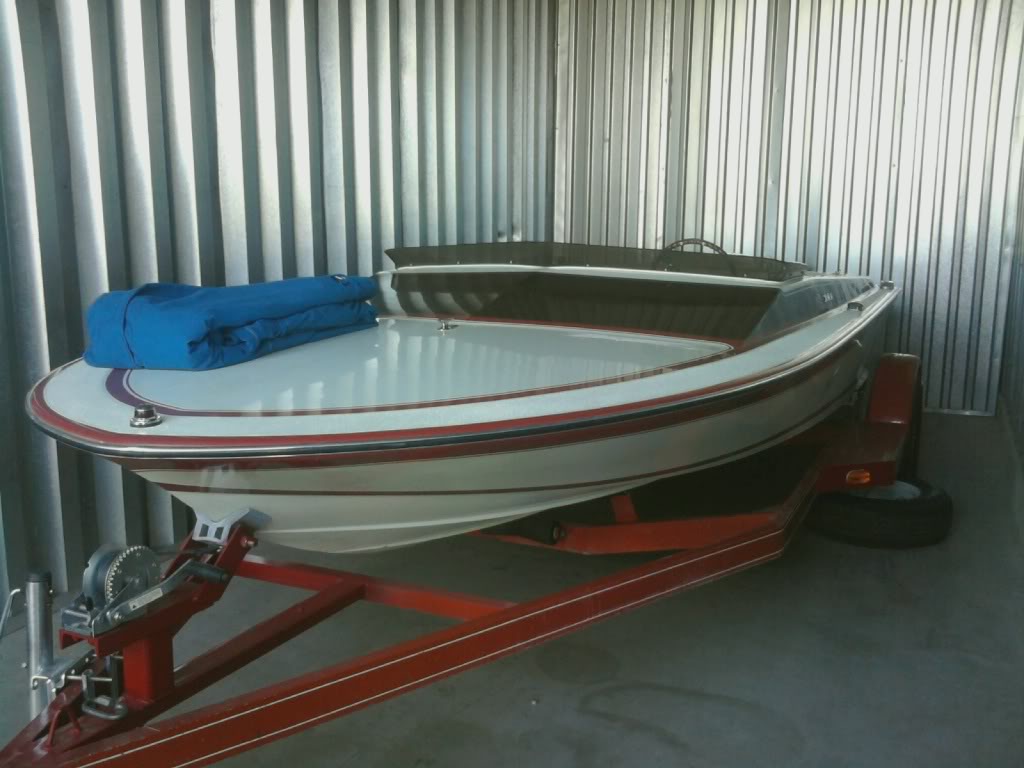
So this is my first boat rebuild: 1976 Spectra 18 mini day cruiser with a Ford 460 and Berkeley JE-A jet pump.

Last edited:


 The seller said he was running 87 octane pump gas in this thing. What the hell is in this engine? With #'s that high there is no way it will run for long on the cheap stuff.


The alternator is mounted with one long bolt with short spacer on top to the cyl head and an alternator bracket on the bottom with long spacer to the timing cover . This is a 429 engine ,mounting is identical to the Harman Fords . You could get the engine mounts from the dealer or make your own solid mounts.

Boat looks nice, my first Howard 21 had that same color/scheme.
Thanks. I'm loving the white and red too.


What size (how many gallons) are your tanks? I'm diggin' the boat tho...I have one too!

Okay, I got tank dimensions for you guys. Length is 72", height of the side closest to seats is 12 7/8, height closest to side of the boat is 12 1/2, top width is 7 1/2, bottom width is 4. Tank capacity looks to be about 22 1/2 gallons based on my calculations.

Here's one of the bulkheads partially glassed in:


Okay, I got tank dimensions for you guys. Length is 72", height of the side closest to seats is 12 7/8, height closest to side of the boat is 12 1/2, top width is 7 1/2, bottom width is 4. Tank capacity looks to be about 22 1/2 gallons based on my calculations.
Here's one of the bulkheads partially glassed in:
Any updates on this? Really want to see how you finish this up, and if where your fuel fills are if you don't mind.
I'm doing the same thing right now in a spectra 18 and the fuel fill seems REALLY close to the top. So close that I'm not sure I'll be able to stuff a fuel fill above it.
Looking good. Nice Spectra.
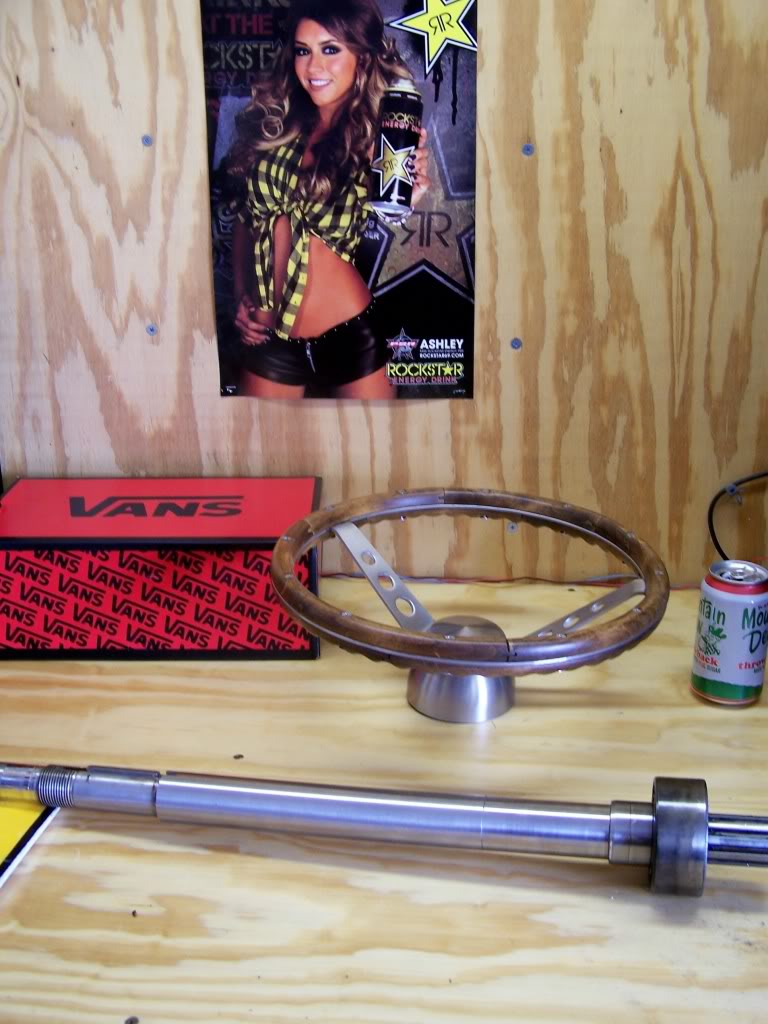
The new steering helm and cables are installed. Here is the original Morse unit and the new Uflex unit. With the new unit you are supposed to cut a larger hole in the dash to bolt up the steering. With the new unit the steering wheel would have been closer to the driver's seat and that would have cramped up the cockpit too much. I wanted to use the existing two holes so a little fabrication was in order.
I made up this round plate for the front out of 1/8" aluminum plate.
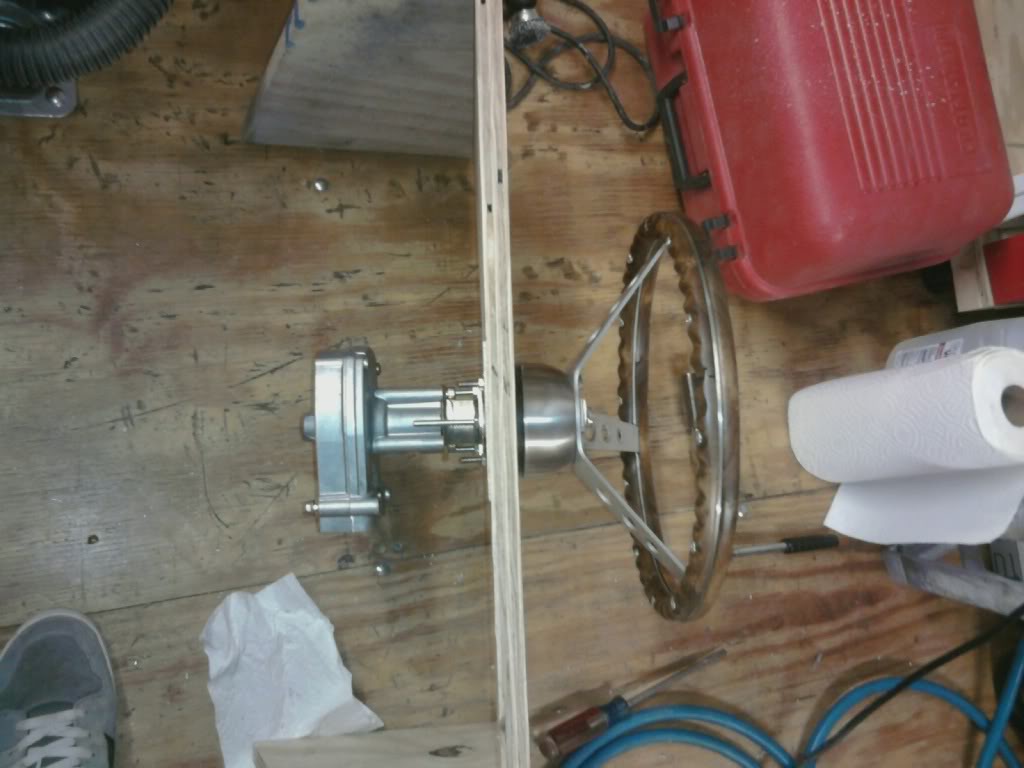
I mocked up a dash out of 3/4 inch plywood to build everything on. I made a plate for the backside as well. I installed shorter screws after I took this pic. I just used what I had on hand to mock this up.
Now the steering is bolted up to the dash using the two holes that were already there and I have a steering wheel that doesn't wobble anymore.
Im going through this Uflex steering change on my 20 and like your mounting set up. Did you Counter bore the heads of the 3 screws for the helm mount into the back of the dash?The new steering helm and cables are installed. Here is the original Morse unit and the new Uflex unit. With the new unit you are supposed to cut a larger hole in the dash to bolt up the steering. With the new unit the steering wheel would have been closer to the driver's seat and that would have cramped up the cockpit too much. I wanted to use the existing two holes so a little fabrication was in order.
I made up this round plate for the front out of 1/8" aluminum plate.
I mocked up a dash out of 3/4 inch plywood to build everything on. I made a plate for the backside as well. I installed shorter screws after I took this pic. I just used what I had on hand to mock this up.
Now the steering is bolted up to the dash using the two holes that were already there and I have a steering wheel that doesn't wobble anymore.
I'm trying to remember if I did countersink the screws but it seems logical that I would have. The steering is still working good since the build and I forgot what all I had to do to get it to work right and look original.Im going through this Uflex steering change on my 20 and like your mounting set up. Did you Counter bore the heads of the 3 screws for the helm mount into the back of the dash?
My rod bearing noise was rather noticeable but I did not know which rod bearing was bad until I pulled the motor and removed the oil pan. I knew something was not right because the oil pressure was lower than normal and the oil on the dipstick had metal flakes in it. Verify the ticking is coming from the engine itself and not where the driveshaft couples to the jet pump. There is some play in the coupling and unless the pump is under a load it will make some noise.I'm curious about the spun rod bearing incident. Were you able to diagnose it as a #3 cylinder rod bearing problem before you pulled the engine? At idle, did it make any unusual noise?
I know it happened a long time ago, but I am experiencing an engine noise that came up right after a WOT pull. More of a ticking than a knock but I didn't run it to long after I discovered. Lifters and valve train look good. Good psi for me too.


