Flying_Lavey
Dreaming of the lake
- Joined
- Feb 13, 2008
- Messages
- 20,544
- Reaction score
- 17,431
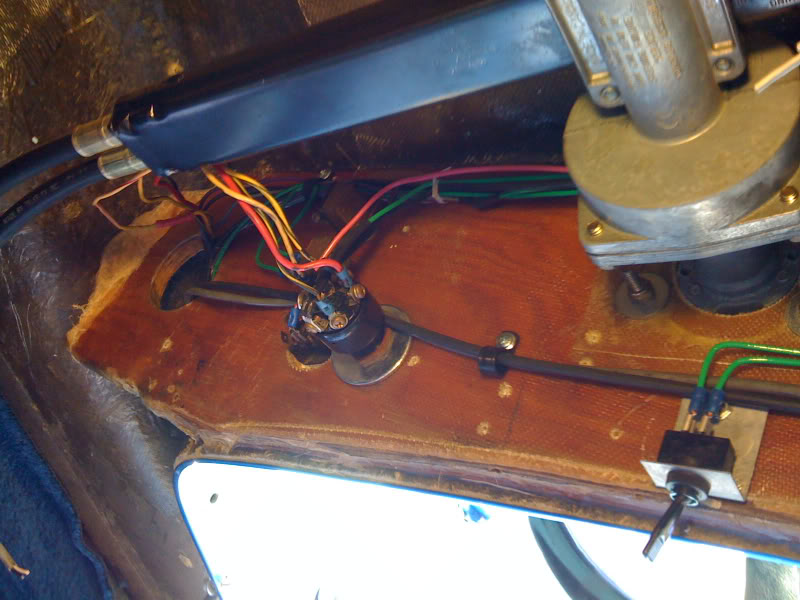
So after about 2 or 3 years of killing a battery in only one day on the water, I finally got tired of it and decided I would re-wire the boat. The thought process was, I dont have a killer stereo, the motor at least produces enough juice to power itself, it has 2 damn near brand new batteries in it, there is no reason why it should kill one battery a day (granted no alternator since its an old school o/b but still).
So, here are a couple before pictures after I pulled all the interior
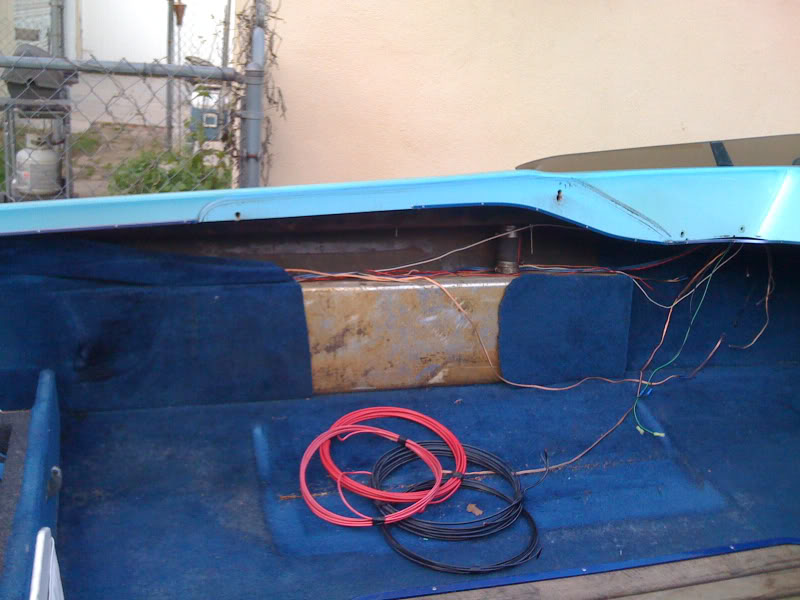
Transom area


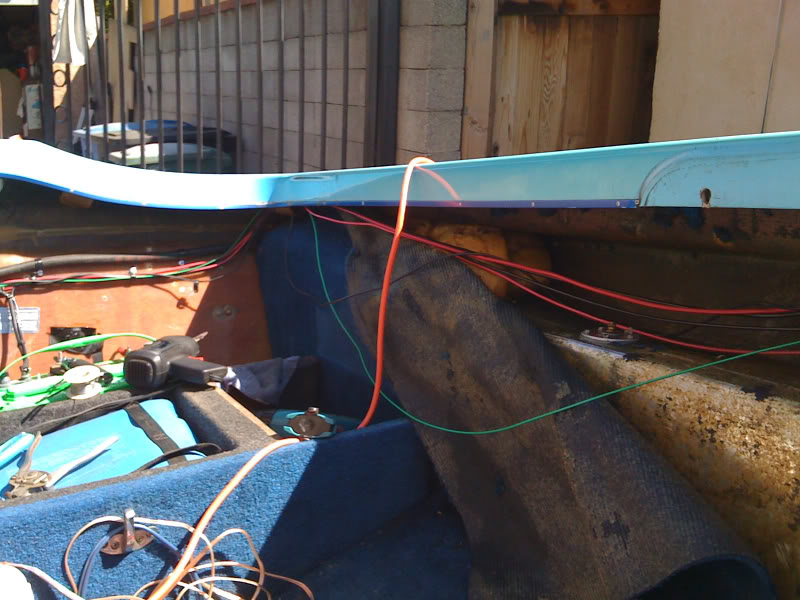
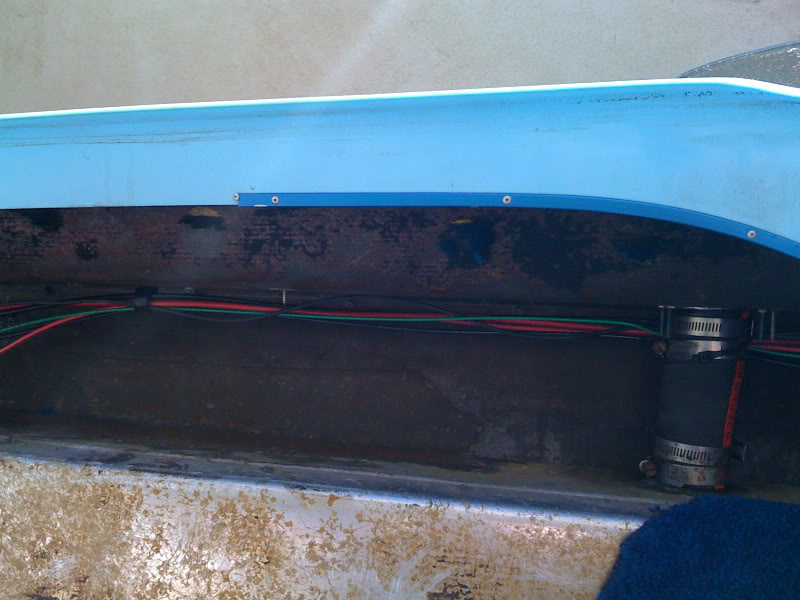
And the sides..

So, here are a couple before pictures after I pulled all the interior
Transom area
And the sides..