RiverDave
In it to win it
- Joined
- Sep 13, 2007
- Messages
- 123,369
- Reaction score
- 151,184
Jason, what are you using to cut all the aluminum plates? I'm assuming you have a small bandsaw or something?
RD
RD


Jason, what are you using to cut all the aluminum plates? I'm assuming you have a small bandsaw or something?
RD


 :beer
:beer

 120?
120?750-800 ...i hope. i'd settle for 750 with no melted pistons and no oil leaks
dont forget starts everytime....
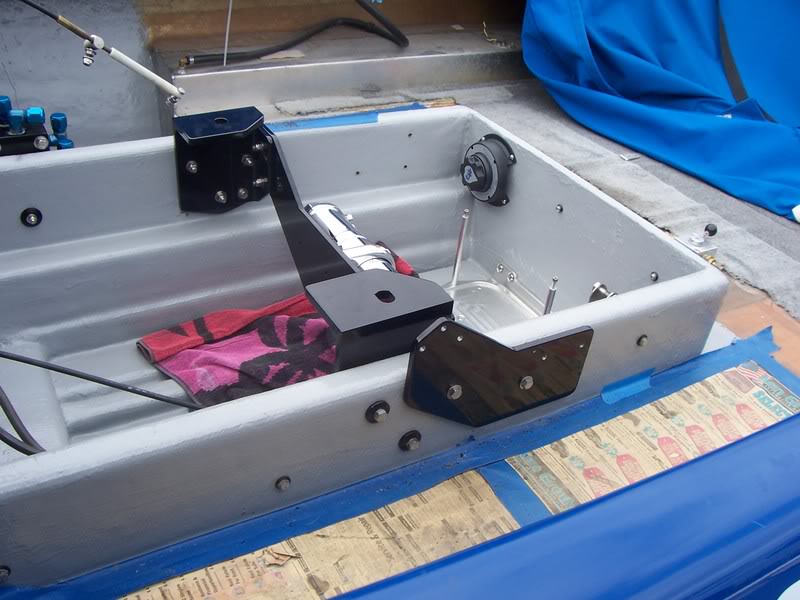
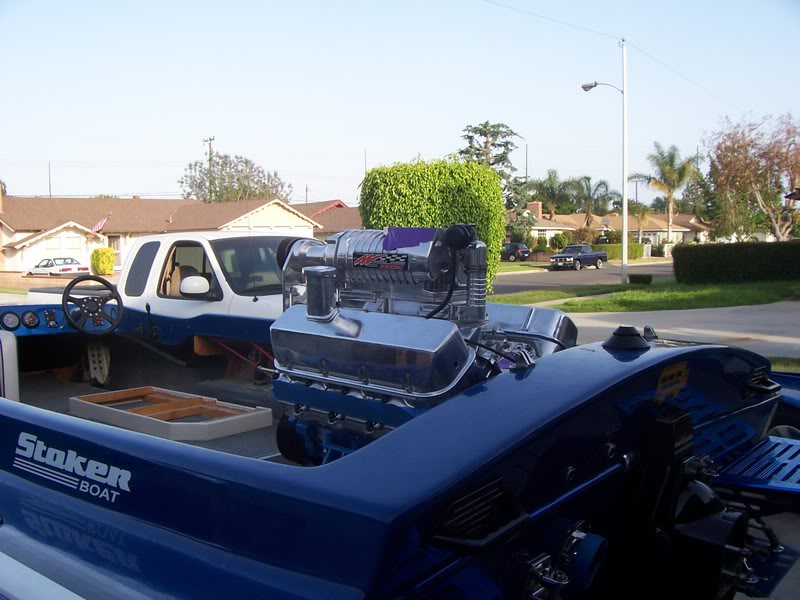
 boat's ready for wire.....


 Looks gooch Jas
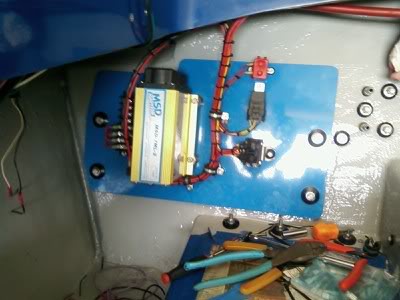
Nice:thumbsuplol,i'm on a budget.good eye
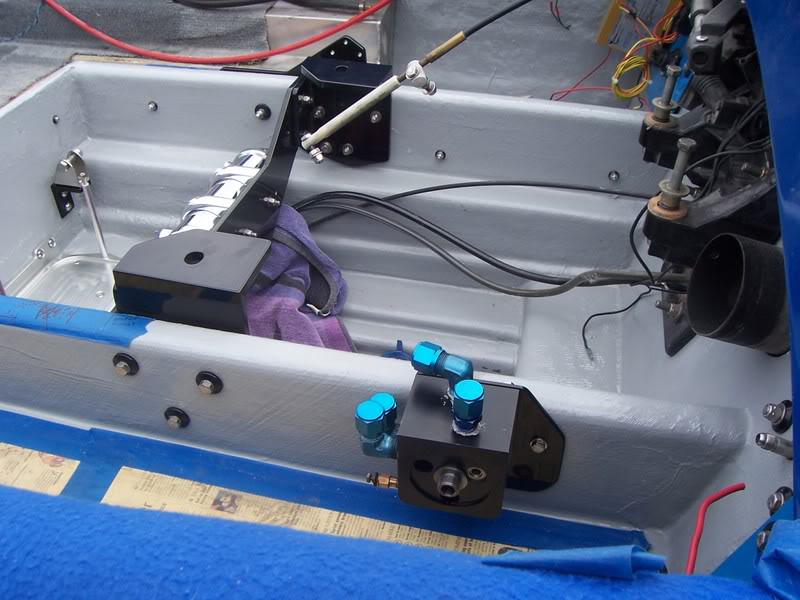
the wiring is coming along.

lol,i'm on a budget.good eye
the wiring is coming along.
way to go jay... looking great um, actually it's "Those tits"!.....and no, that's not. These are though.....That's tits! :beer

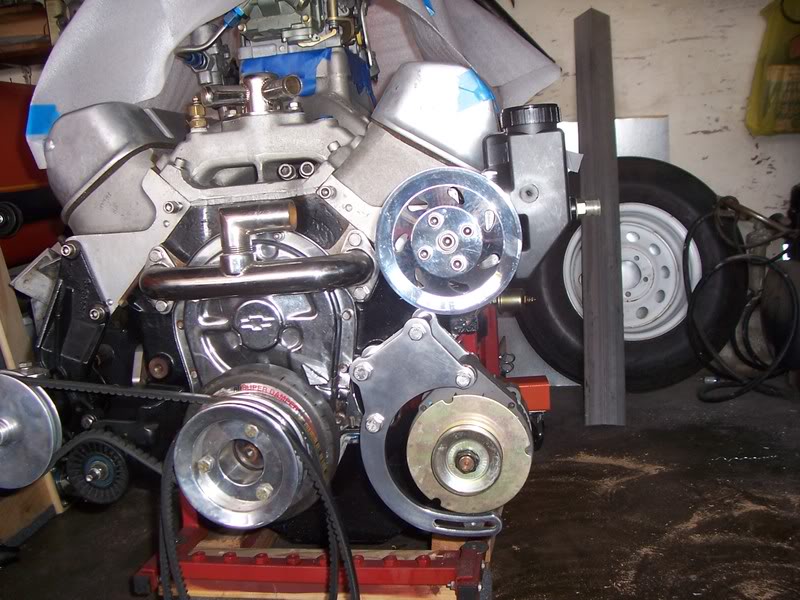
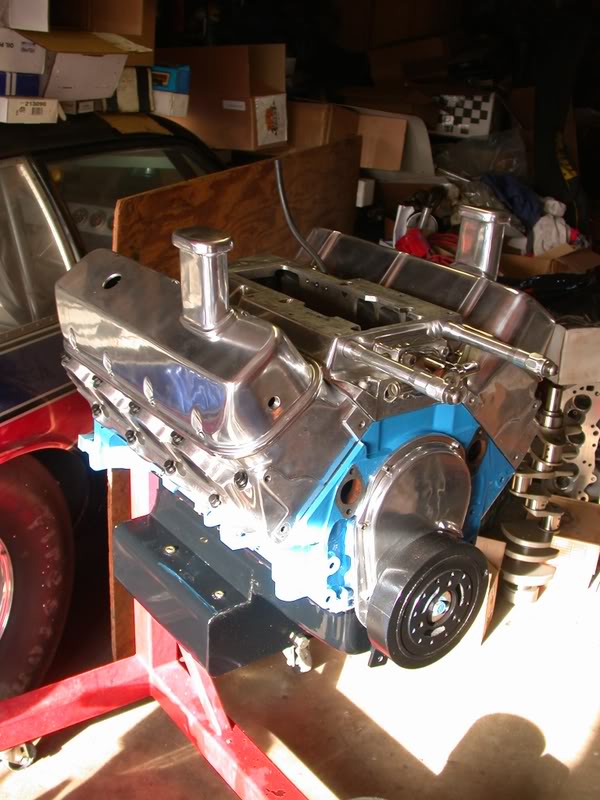
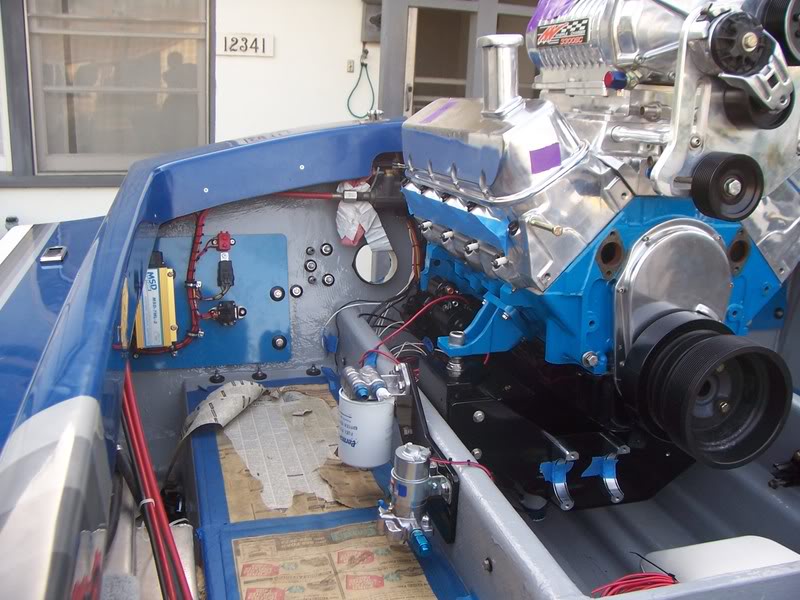
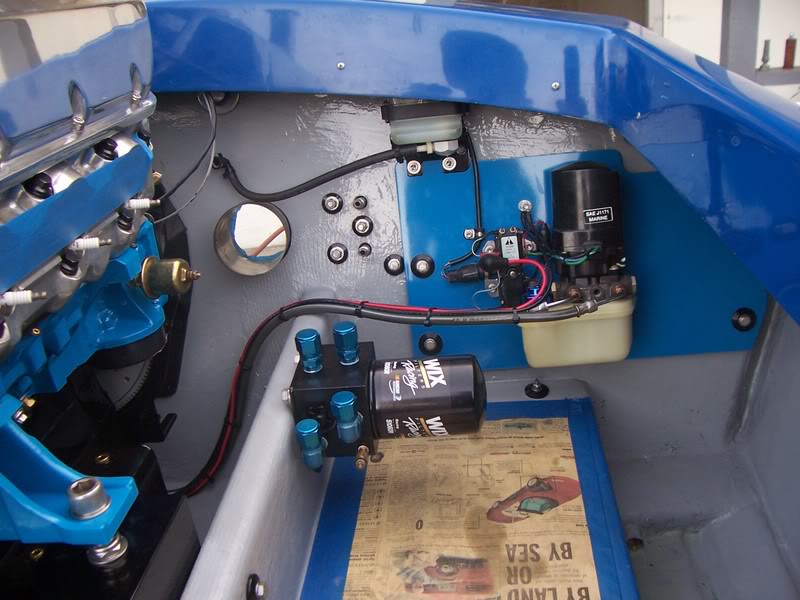
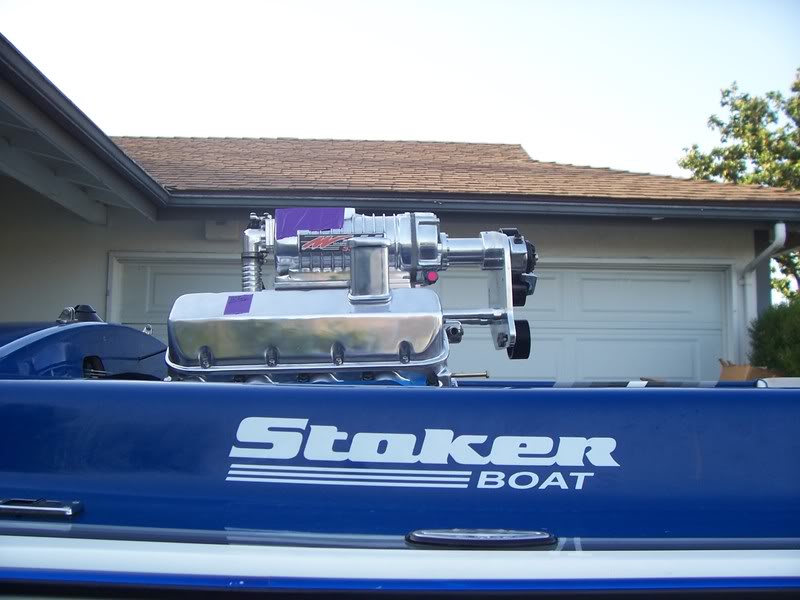
got the motor in. kind of a big deal to me.
wow, you definitly put in work. that set-up looks awesome...love the detailed description of how you cut the parts