Yellowboat
Well-Known Member
- Joined
- Dec 18, 2007
- Messages
- 16,110
- Reaction score
- 6,369
You make it look worse. 
**** this thread is a work in progress. When the entire job is completed, there will be final pics*****
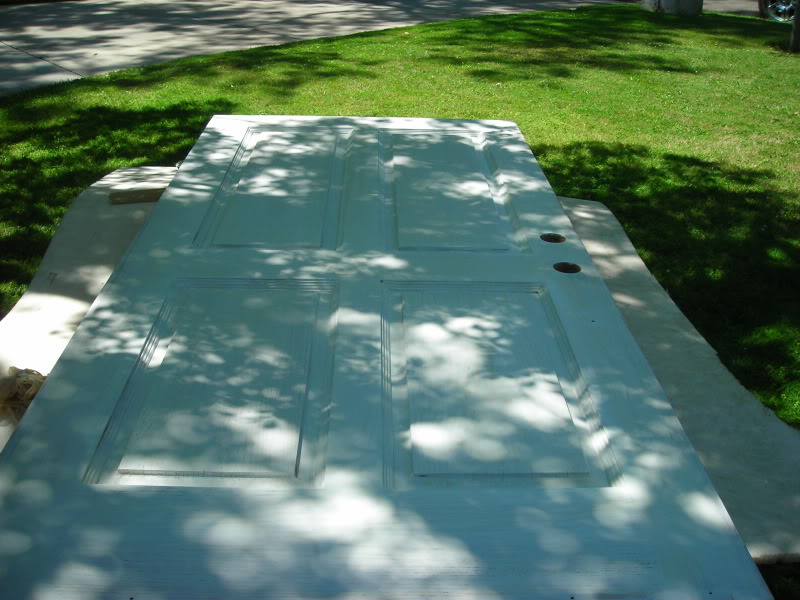
This door has seen a lot of abuse in the last 30 years or so... I mean no love. As a result the varnish has latterly crazed off, which has caused lots of unrepairable cracks (not structural, but will look like shit if we strip and varnish the door.) and checks in the solid oak. It also has a lot of weather damage and some deep gouges

While not super noticeable in the pic, trust me, its well beyond the repairable stage.
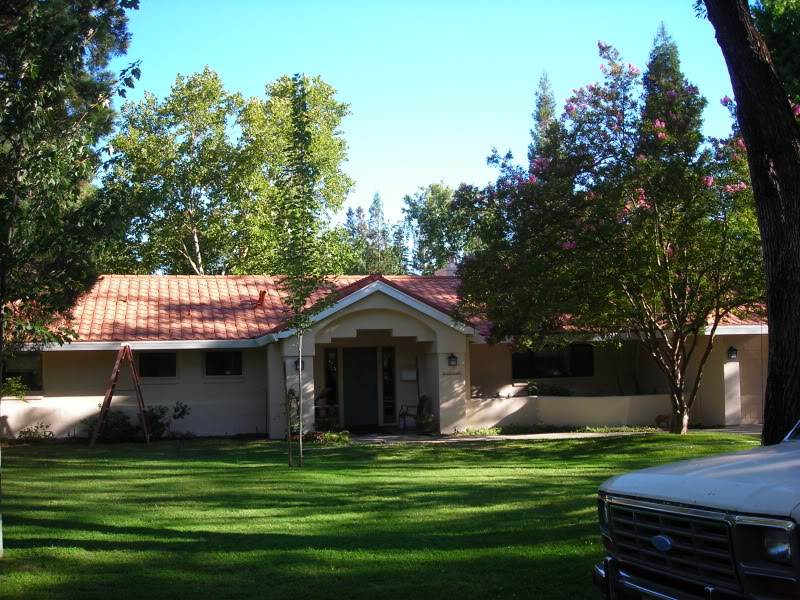
So what to do? Paint it, and since this entire house is southwestern, we figured we would do a dry brush to see a base color. A basic old weathered look. This is very sutble and you can not see it until you are almost to the front door, but its a very cool effect.
Ok so here is what you need.
Sand paper, 180, 220 and lots of it.
Sanding blocks/ and dowels to get into the radius.
1 3-4" "nice" brush.
1 3-4" "old" brush. A brush that is still functional, but due to use has become "limp" and you can't get good production or cut clean lines with it.
Tack rags
shop vac
regular rags/ paper
Water
a flowing agent( flotrol)
A good adhesion primer (in this case DEs ultra grip) A shellac-based product would also work, but stay away from the alkyds rather it be solvent based or water borne.
2 paints, exterior, velvet opposing colors that are in the same hue (same line of a fan deck)
A paint pail or 2, never paint out of a can!!!!
Start by sanding off as much of the old finish and weathering that you can. Changing paper as it clogs and vacing it often. After the old finish is removed, vac it one more time, then tack rag it off.
Using the good brush, apply 1 super thin coat of primer and allow to dry, fallow that up by a second coat. A word about the coats, you want very little hide (see thru) and NO FILL. You actually want to see the wood grain. You are looking for a good bond, nothing more. Thin the primer with water as needed. (This is one of the few times I'd ever recommend thinning primer.)
After the second coat of primer has dried to the point where you can lightly scuff sand it, do so. Vac, tack rag.
Now take the base color and thin it with about 5% flotrol and about 20% water. (Once again, one of the few times I will ever say to thin the paint) You want it about the same consistency as the primer. Apply 1 very thin coat. You are not looking for hide or fill, just coverage and some color. At this point, if there are any, "nastys" in the color rather it be bad brush strokes or runs/sags. Its time to sand them out.

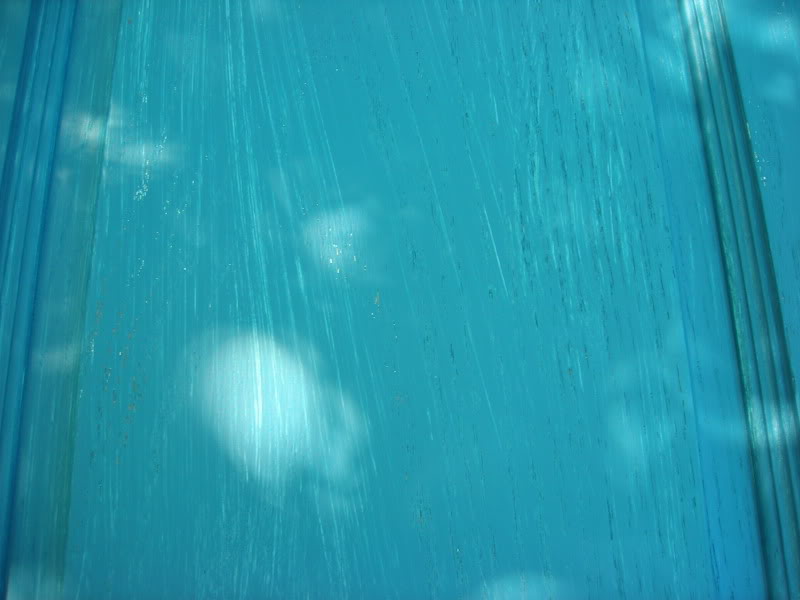
After it fully dries (hour or so on a hot day) apply a second coat, with a little more water mixed in. On this coat, just like the ones before, you are not looking for fill, but this time you are looking for hide. You want to see none of the primer. If this requires a 3rd coat, that?s fine, just remember no fill. At this point you should have a perfect door, in solid color, no issues.

Now for the fun part, the dry brushing. Now while this may seem to be very easy, its not, its about 10X harder then anything you have done up to this point. "Why is that?" In a word consistency. It can be very hard to get an even pattern of thin and thick parts. To give you some idea, a door like this will normally take me about 3 mins to paint; it took me over 20 for this step.
Dip the "old" brush into the paint about 1/8", then gently pat the brush on a pile of rags/paper. The goal is to remove most of the paint from the brush. Now very quickly apply the paint to the door, and brush it out as far as it will go with normal painting pressure. Use long fluid strokes. Once you have flowed out the paint as far as it will go, come back over top of the paint several times pressing down as hard as you can. This will cause the bristles to bend side ways and pull streaks into the paint. After 2 or 3 strokes, beat the hell of the area just painted with just the tip of the brush, using fast back and forth movement in the same direction as the hard strokes. Now very gently lay off the paint, redip and pat the brush and move on to the next area. You must be moving very quickly while doing this, other wise you will not have time to brush every thing all the way out. On the door pictured you should be able to do about half a panel per dip. If you are not happy with the coverage, its best to wait for the paint to dry and come back then it is to try and "rehit" an area.

Insert pic of finished door hung.
**** I will insert pics later this evening.****
**** this thread is a work in progress. When the entire job is completed, there will be final pics*****
This door has seen a lot of abuse in the last 30 years or so... I mean no love. As a result the varnish has latterly crazed off, which has caused lots of unrepairable cracks (not structural, but will look like shit if we strip and varnish the door.) and checks in the solid oak. It also has a lot of weather damage and some deep gouges
While not super noticeable in the pic, trust me, its well beyond the repairable stage.
So what to do? Paint it, and since this entire house is southwestern, we figured we would do a dry brush to see a base color. A basic old weathered look. This is very sutble and you can not see it until you are almost to the front door, but its a very cool effect.
Ok so here is what you need.
Sand paper, 180, 220 and lots of it.
Sanding blocks/ and dowels to get into the radius.
1 3-4" "nice" brush.
1 3-4" "old" brush. A brush that is still functional, but due to use has become "limp" and you can't get good production or cut clean lines with it.
Tack rags
shop vac
regular rags/ paper
Water
a flowing agent( flotrol)
A good adhesion primer (in this case DEs ultra grip) A shellac-based product would also work, but stay away from the alkyds rather it be solvent based or water borne.
2 paints, exterior, velvet opposing colors that are in the same hue (same line of a fan deck)
A paint pail or 2, never paint out of a can!!!!
Start by sanding off as much of the old finish and weathering that you can. Changing paper as it clogs and vacing it often. After the old finish is removed, vac it one more time, then tack rag it off.
Using the good brush, apply 1 super thin coat of primer and allow to dry, fallow that up by a second coat. A word about the coats, you want very little hide (see thru) and NO FILL. You actually want to see the wood grain. You are looking for a good bond, nothing more. Thin the primer with water as needed. (This is one of the few times I'd ever recommend thinning primer.)
After the second coat of primer has dried to the point where you can lightly scuff sand it, do so. Vac, tack rag.
Now take the base color and thin it with about 5% flotrol and about 20% water. (Once again, one of the few times I will ever say to thin the paint) You want it about the same consistency as the primer. Apply 1 very thin coat. You are not looking for hide or fill, just coverage and some color. At this point, if there are any, "nastys" in the color rather it be bad brush strokes or runs/sags. Its time to sand them out.
After it fully dries (hour or so on a hot day) apply a second coat, with a little more water mixed in. On this coat, just like the ones before, you are not looking for fill, but this time you are looking for hide. You want to see none of the primer. If this requires a 3rd coat, that?s fine, just remember no fill. At this point you should have a perfect door, in solid color, no issues.
Now for the fun part, the dry brushing. Now while this may seem to be very easy, its not, its about 10X harder then anything you have done up to this point. "Why is that?" In a word consistency. It can be very hard to get an even pattern of thin and thick parts. To give you some idea, a door like this will normally take me about 3 mins to paint; it took me over 20 for this step.
Dip the "old" brush into the paint about 1/8", then gently pat the brush on a pile of rags/paper. The goal is to remove most of the paint from the brush. Now very quickly apply the paint to the door, and brush it out as far as it will go with normal painting pressure. Use long fluid strokes. Once you have flowed out the paint as far as it will go, come back over top of the paint several times pressing down as hard as you can. This will cause the bristles to bend side ways and pull streaks into the paint. After 2 or 3 strokes, beat the hell of the area just painted with just the tip of the brush, using fast back and forth movement in the same direction as the hard strokes. Now very gently lay off the paint, redip and pat the brush and move on to the next area. You must be moving very quickly while doing this, other wise you will not have time to brush every thing all the way out. On the door pictured you should be able to do about half a panel per dip. If you are not happy with the coverage, its best to wait for the paint to dry and come back then it is to try and "rehit" an area.
Insert pic of finished door hung.
**** I will insert pics later this evening.****
Last edited: