4Waters
Well-Known Member
- Joined
- Aug 28, 2016
- Messages
- 36,958
- Reaction score
- 94,732
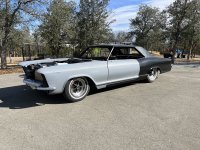
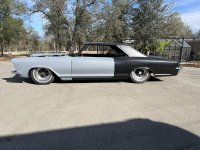
Holy shit!! That's badassEvery weekend (unless I’m at Parker) I try to throw some metal at this project. I just mounted the 14” disks with six piston calipers on all four sides.
View attachment 1155409 View attachment 1155410 View attachment 1155411 View attachment 1155412 View attachment 1155413